| On2VP6 FLV Maker — A small program written in Java that makes it easy to create high quality .flv videos that can be embedded inside .swf files. Also, can build .swf files with embedded videos.
Notice! Unless you explicitly want a FLV that you can embed on the main timeline there is a way to embed videos with higher quality than On2VP6: SwfH256. It is replacing FLV Maker (though SwfH256 is lacking some tools that are included with FLV Maker).Notice 2! If you use FLV Maker for video editing I suggest you use The Swiff Army Knife instead. It's newer and can create both kinds of FLV files (the kind you can embed into a SWF and the kind you have to stream from outside a SWF).
DOWNLOAD FLV_Maker_v2.2.0.rar (23.7 MiB) — Extracts to 37.4 MiB. Designed to run on Windows. Requires Java 7 or higher. If the program doesn't start, right-click "! Run the FLV maker.bat" and select Edit to open it in Notepad.
Then replace "javaw" with the complete path to javaw.exe on your machine so the line reads like this:
start "flvmaker" "C:\<your path to java here>\jre<version>\bin\javaw.exe" -Xmx5000m -jar programJar
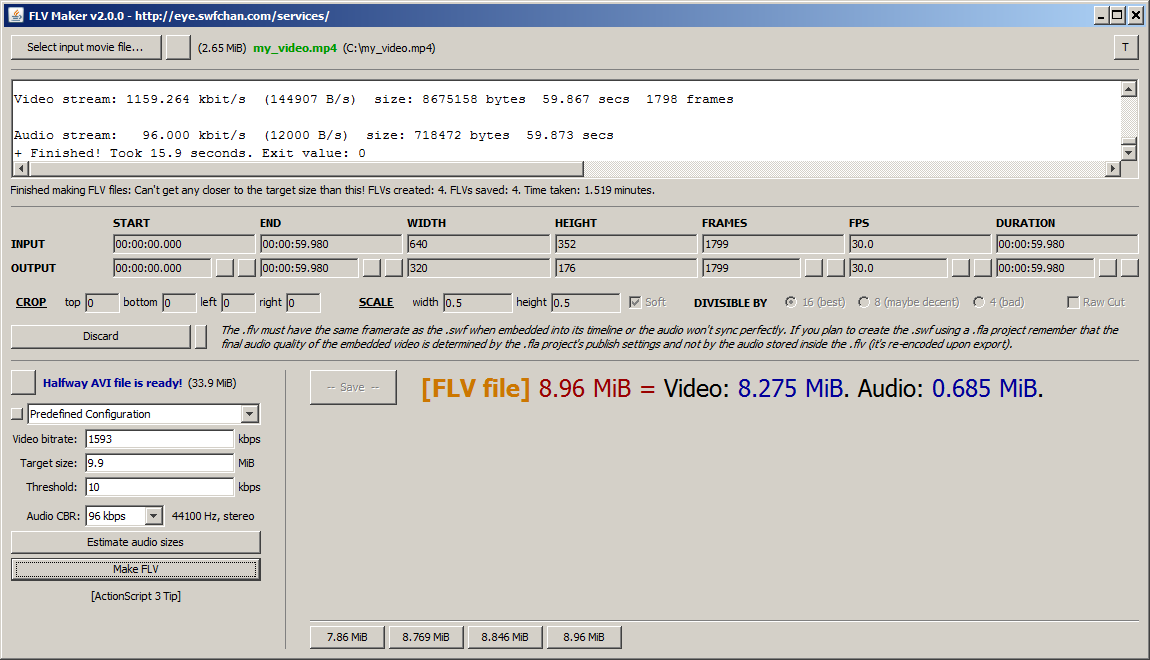
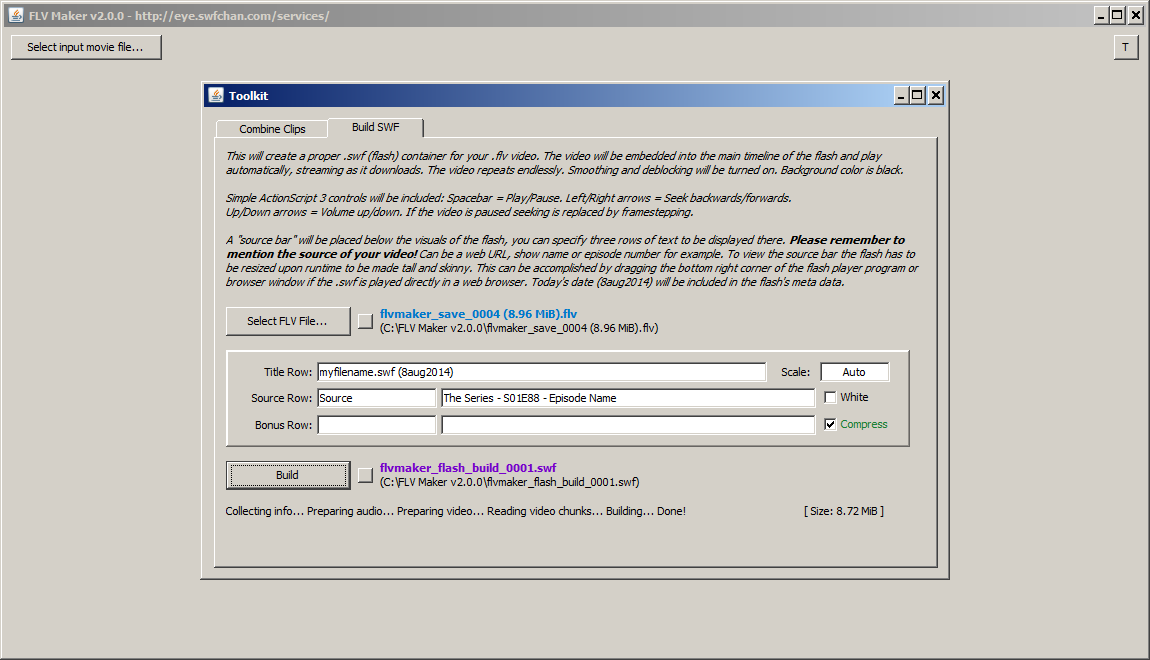
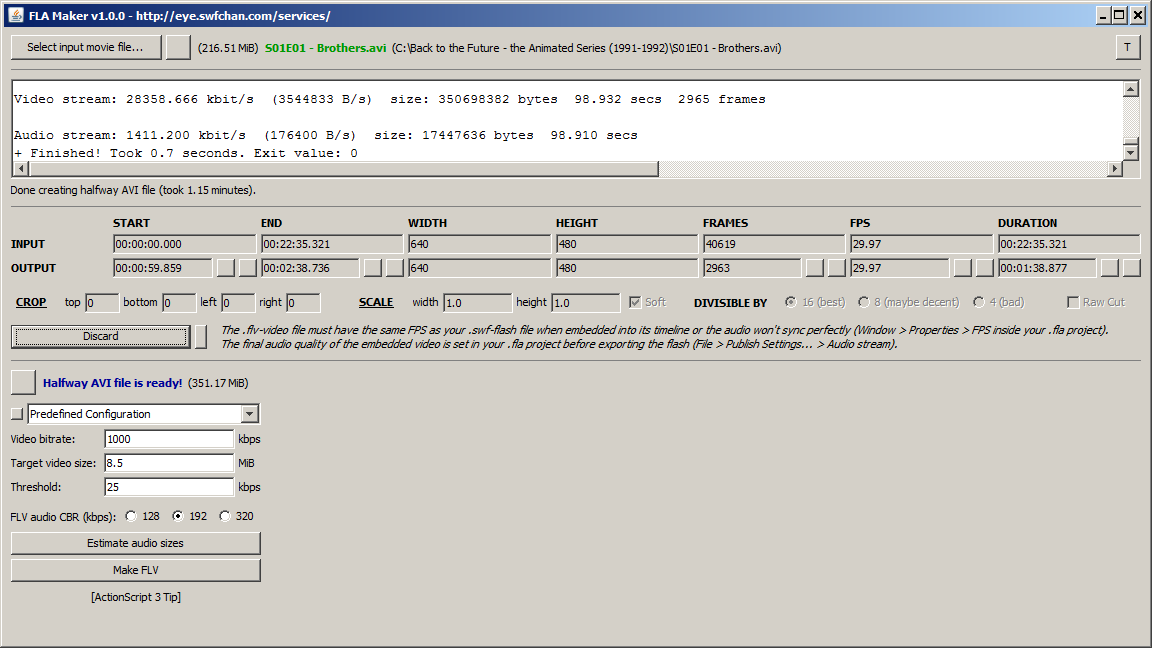
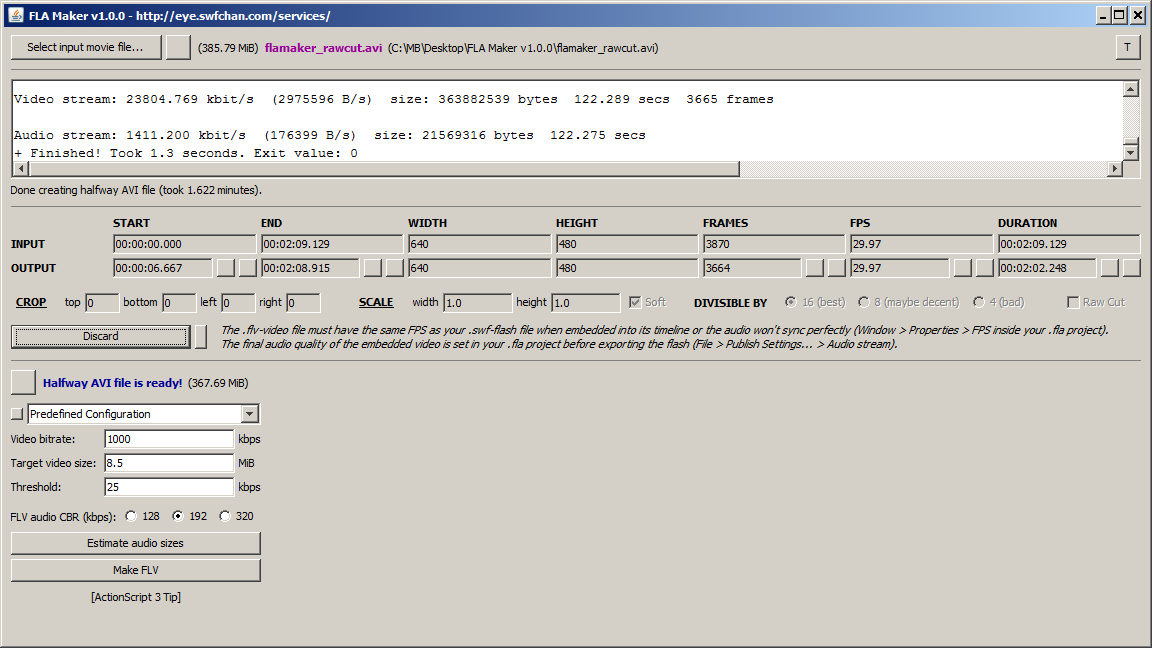
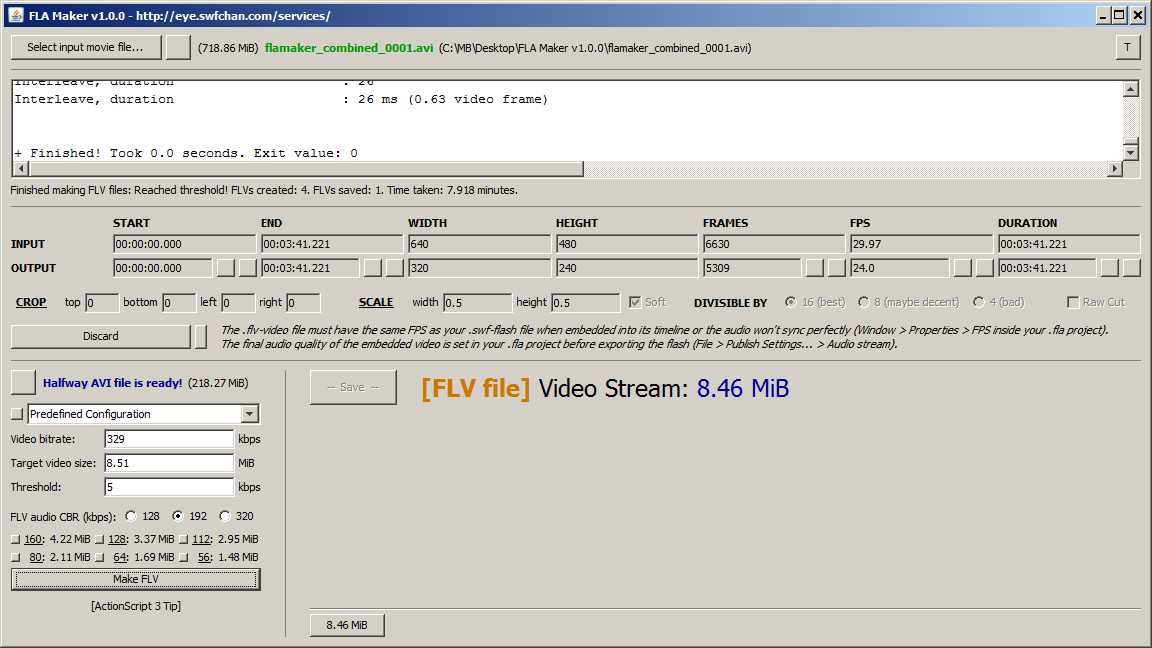
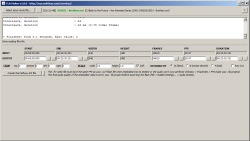
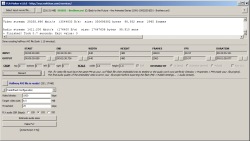
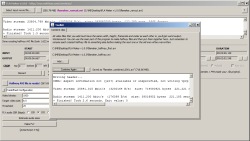
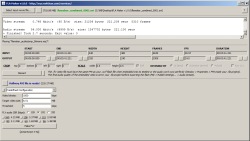
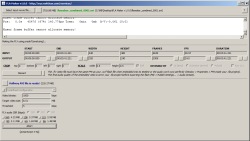
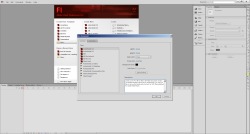
VERSION TWO A new version of FLA Maker has been created since the guide below was written but I don't really have the perseverance to update it with new screenshots so here are two that best describe what's new.  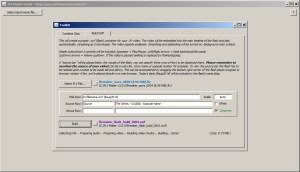 Left: The main program window after a FLV file has been created at the desired size. Notice that both video and audio streams are printed out, that the "target video size" is now the target for both video and audio combined and that a drop down list has been added for setting the FLV audio quality. Right: The biggest change is that you can now build a .swf file with an embedded .flv file directly from inside the toolkit. Press a button and you have a .swf file ready to be uploaded to the Internet. No other programs needed. Also: In version 2.2.0 the following was added to the Toolkit (not in any screenshot): + Extract Audio - Save the audio of a movie file as WAV or MP3.
+ Replace Audio - Replace a movie's audio stream or fully mute it.
+ Change Volume - Increase or decrease the volume of your movie.
MAKING A FLV AND PUTTING IT IN A SWF Notice that the FLV Maker is incorrectly called FLA maker in the screenshots. I have no idea how I made this mistake and why I didn't discover it until after all the screenshots were taken and this guide was already written. The name has been fixed everywhere except in the screenshots (because I don't feel like editing 23 images). Good thing I finally noticed before release at least! Notice even further that this guide was made using v1 of the program. 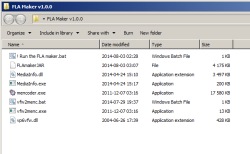
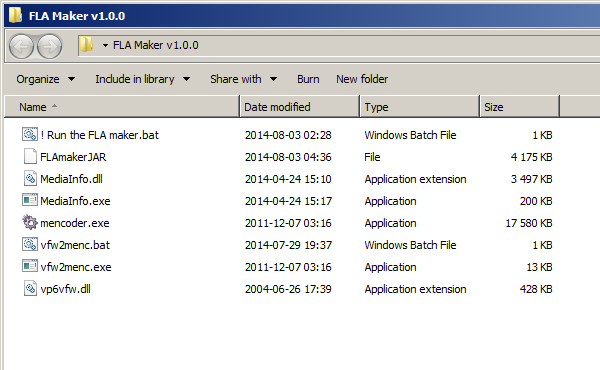
| After you've downloaded and extracted the RAR archive this is what you get. Double click on "! Run the FLV maker.bat".
| 
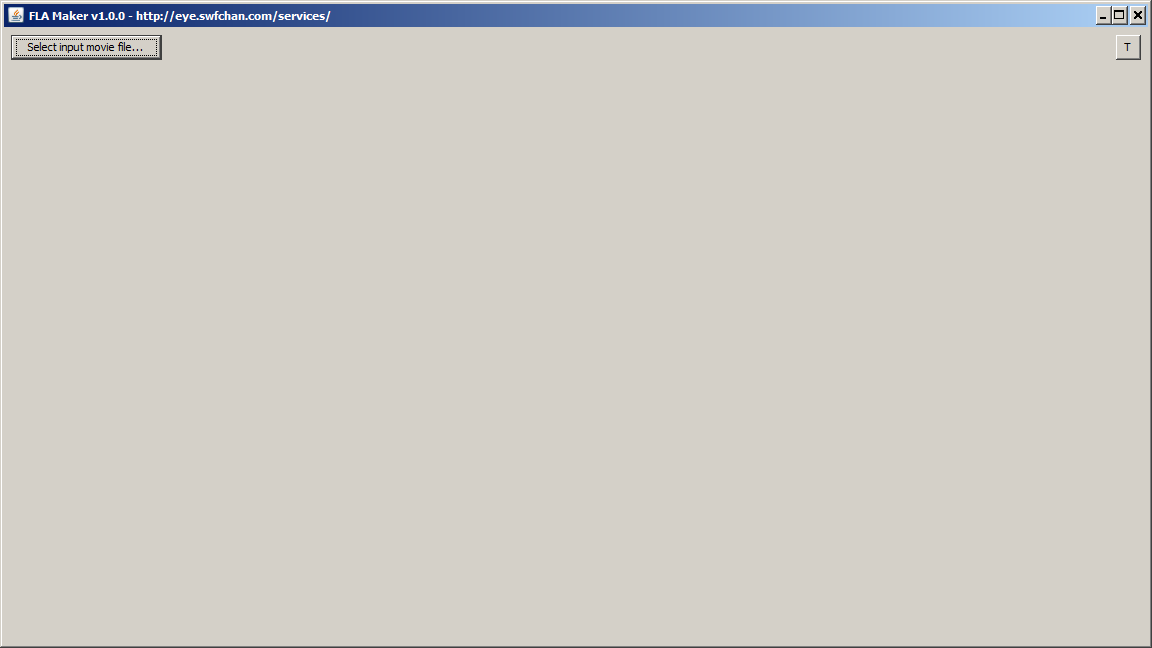
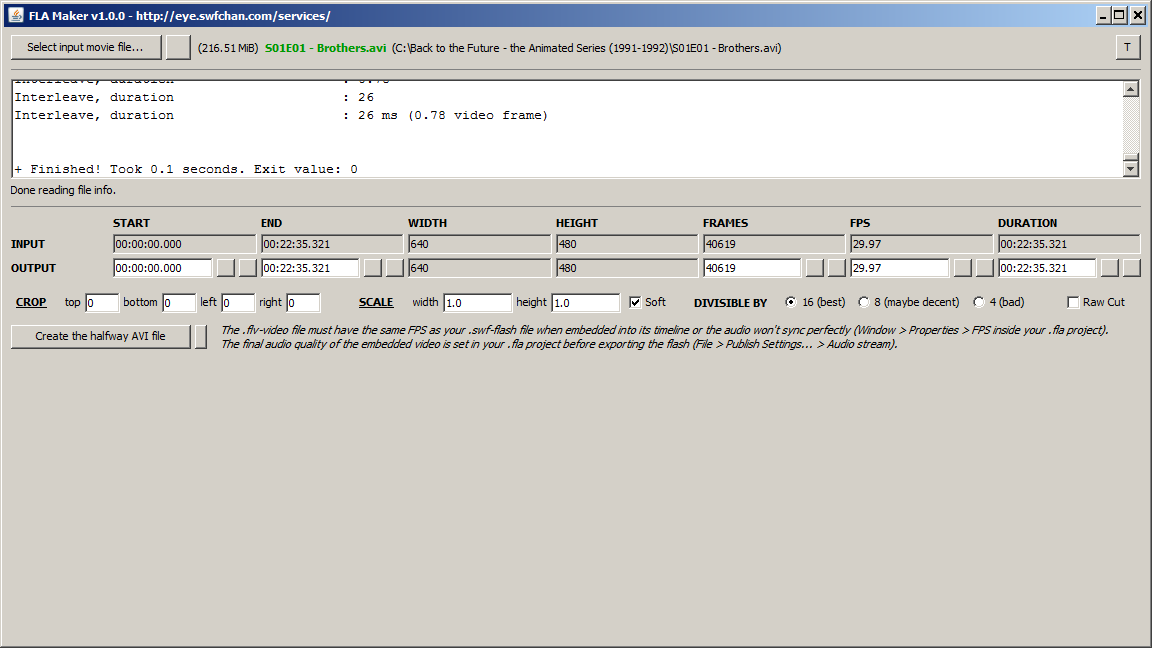
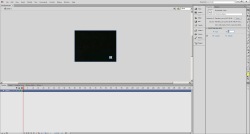
| The program window appears. I'm going to cut out two separate parts from the same movie file, combine them together and then create the FLV file out of that.
| 
| I've selected the input file. It's the first episode of the Back to the Future TV show. Each episode of the show featured live action, then a cartoon and then back to live action towards the end. I want to make a FLV out of only the live action so I need to edit out the middle part of the episode.
| 
| Using an external video playback program (I had Media Player Classic installed on my computer) I've picked out two times of interest: When the first part of the live action starts and when it ends. These times were put under "start" and "end" and then the button was pressed to create a halfway AVI file (a cut from the episode).
| 
| In Windows Explorer, while FLV Maker is still running, I rename "flvmaker_halfway.avi" to "flvmaker_halfway_first.avi". This is because a new halfway file will be created soon and I don't want the old one to be overwritten.
| 
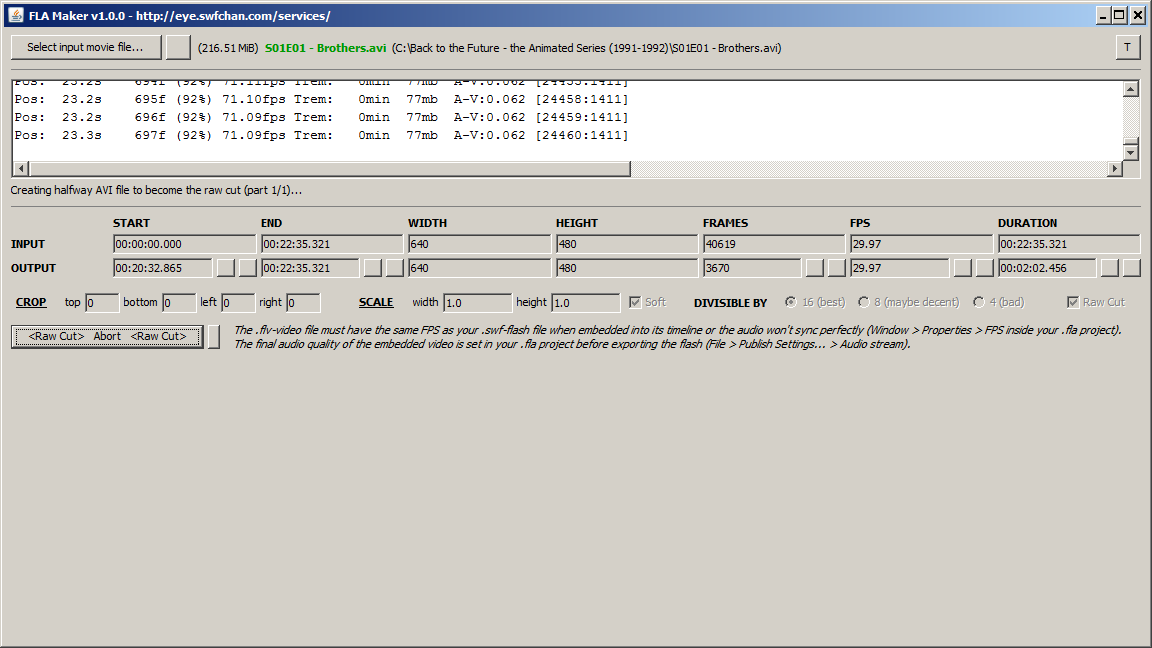
| Back in FLV Maker I discard the created halfway file and change the output end time to the episode's end time and change the output start time to roughly when the next live action scene begins. I check "Raw Cut" and press the button to create another halfway file - one to become a raw cut of the episode.
| 
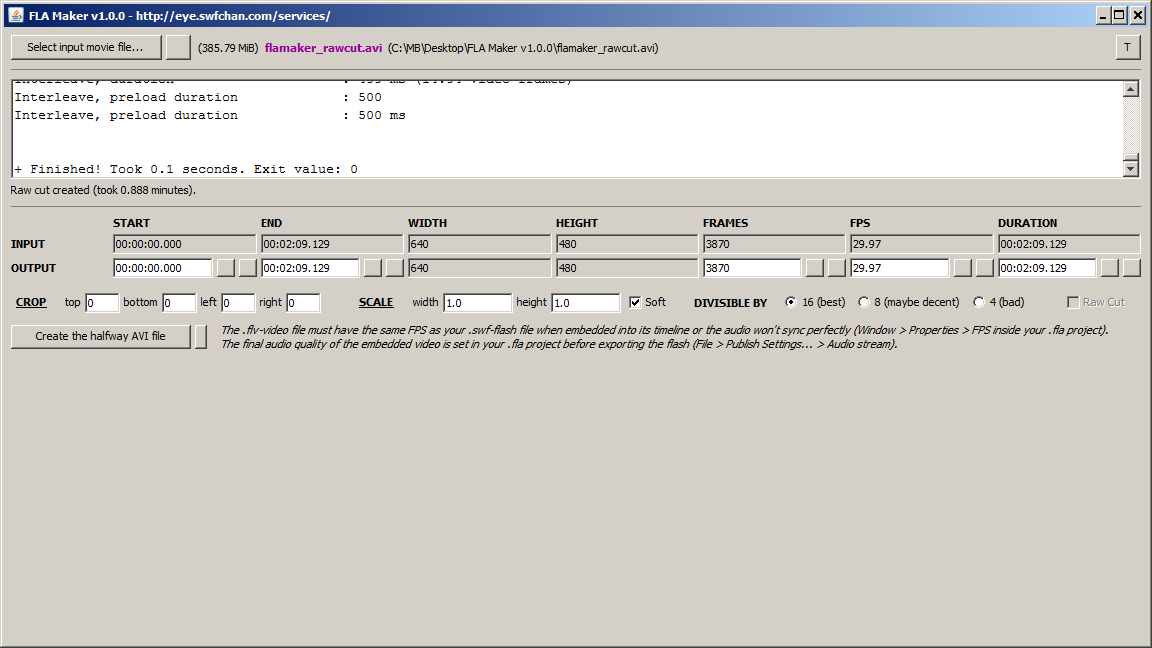
| The raw cut has been created and taken its place as the new input file. The purpose of making a raw cut is to speed things up A LOT when the output start time needs to be somewhere not close to the input start time. This is necessary because of seeking limitations. All you need to remember is that if you're going to set your output start time from somewhere in the middle of a lengthy input video -- make a raw cut first!
| 
| I opened the raw cut in Media Player Classic and got the new start and end times (milliseconds are shown in Play > Go To... in that program). The second halway AVI file has been created.
| 
| Time to patch these two cuts together. Let's open the Toolkit by using the T button in the top right corner.
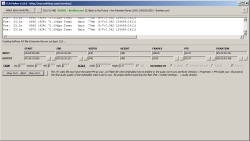
Two or more movie files can be combined here. There are some requirements to get it to work (same dimensions, fps and codec) but halfway files and/or raw cut files can always be combined. | 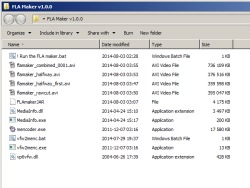
| Let's see what files we have now... The halfway_first was our first creation. It was manually renamed to have "_first" in the file name. After that the rawcut file was made. And from the rawcut a new halfway file came into existance.
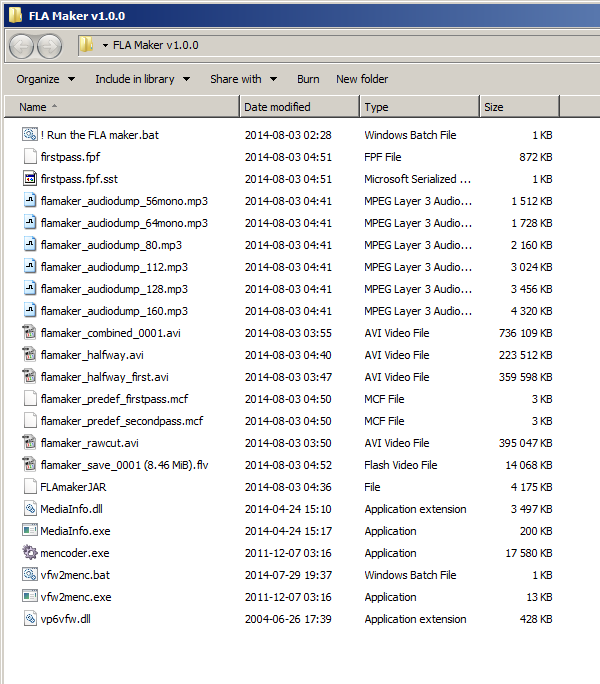
Finally the two halfway files were combined into a new movie file.
| 
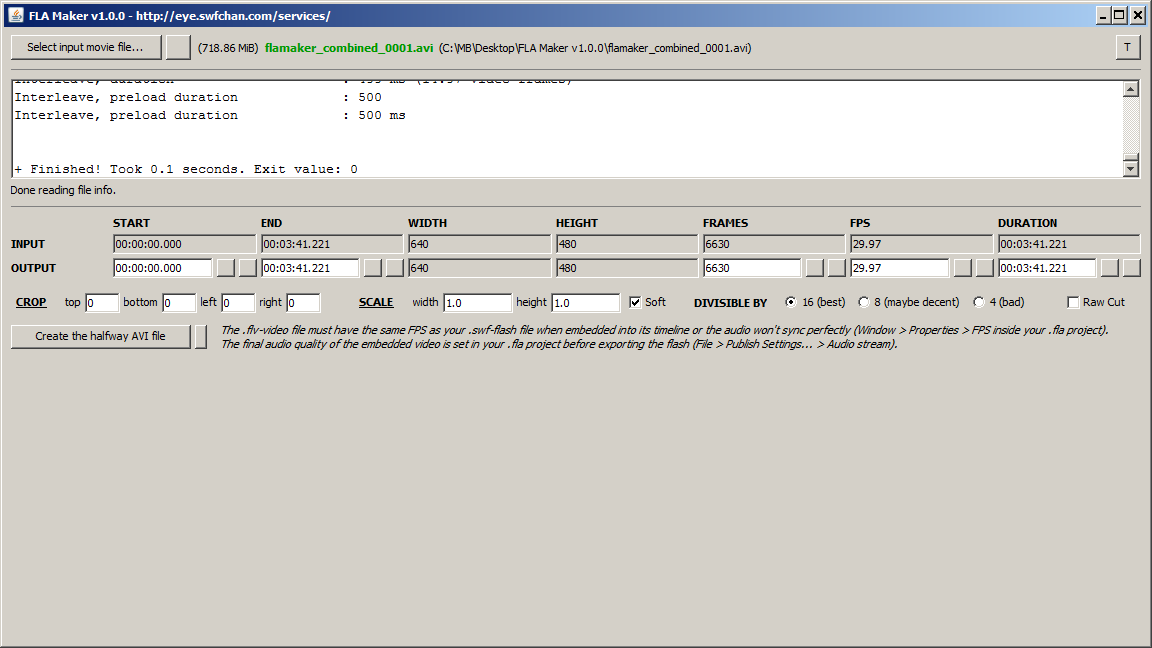
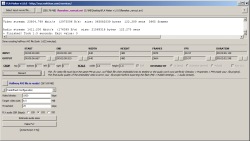
| We now use the combined file as our input file. Cutting is all done, now we can reduce its frame rate and dimensions to make it take up less bytes. It's clever to wait until after cutting/combining to change anything else because what if it at this point turns out the visuals are too small? We would have had to remake the whole combine process just to increase dimensions. But since we didn't touch any of that earlier we can play around as much as we want with resolution and FPS at this point.
| 
| Another halfway file is created. This is the one that will become our FLV file. I now press the "estimate audio sizes"-button that will generate six mp3 files from the video audio. This will give a general idea of how much space the audio will need in the swf file.
| 
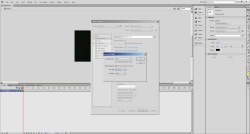
| Since there's no music in the video you can't really tell much difference between the generated mp3s. I will therefore go with the 56 kbps mono option (of course nothing is stopping you from using even lower bitrate in your FLV project, these are just examples).
Say that my goal for the final swf is that it should be max 10 MiB. 10 - 1.48 (the size of the smallest example mp3) = 8.52. Subtract an additional 0.01 for good measure (swf overhead) and we get 8.51 for the target size (very close to the default value that was written there in the previous screenshot (8.5).
| 
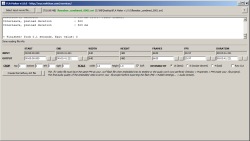
| These values are only estimates, something that will become clear towards the end of this guide. I want the program to try to get super close to the target so 5 is placed as threshold. 1000 is an okay start value for bitrate (typically overshoots at this target size) so let's leave it there.
The FLV audio option can be ignored since the audio size is actually determined upon export of your swf file and not here. I put that there in case you aren't going to put the swf in a fla project.
| 
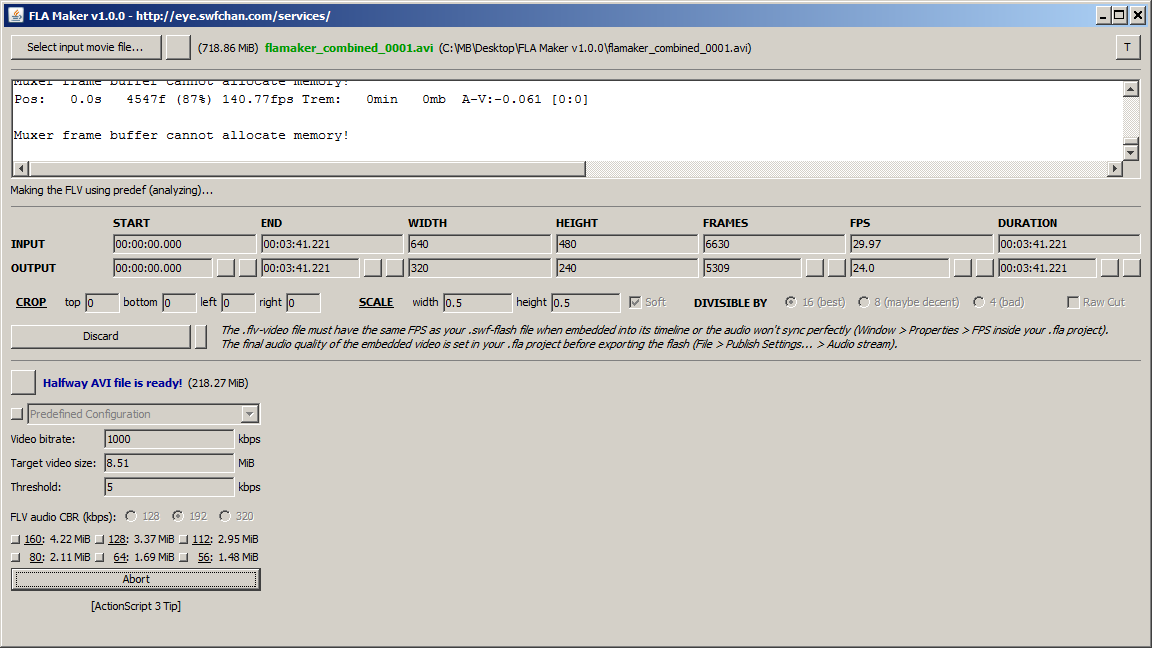
| FLV encoding has begun! The program will keep making FLV files until it gets close to the specified target. Only FLVs that are equal to or below the target size is kept. The muxer frame buffer errors can be ignored, there doesn't seem to be a way to fix them but it doesn't seem to hurt either.
| 
| As expected the first FLV got way too big with 1000 kbps, the program has automatically adjusted the bitrate and is trying again. Grab a book (or in my case microwave a pizza since I had forgotten to eat) and let the program do its thing.
| 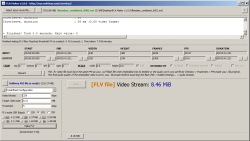
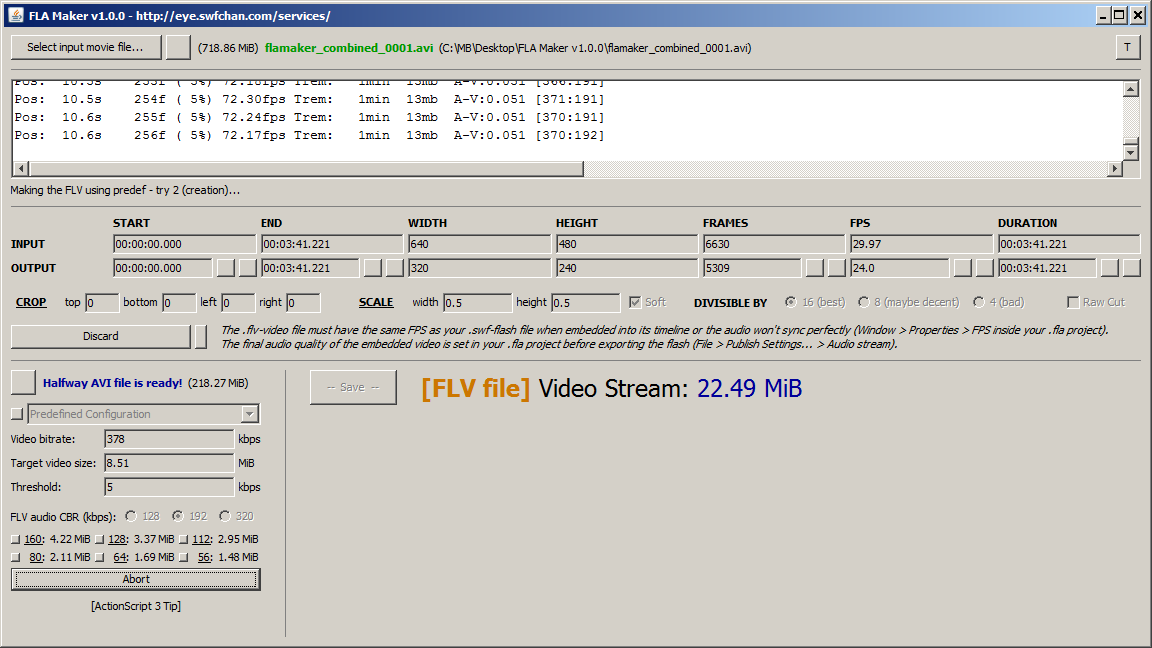
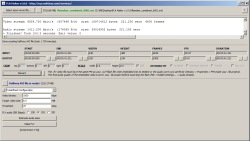
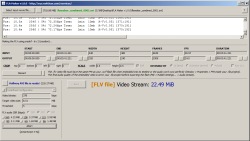
| After roughly eight minutes and four FLV files the program has made a FLV that it thinks will suit my needs perfectly. We don't know exactly how big the FLV video/audio streams will become inside a swf file since Adobe Flash does some magic upon export but these numbers should be pretty close.
| 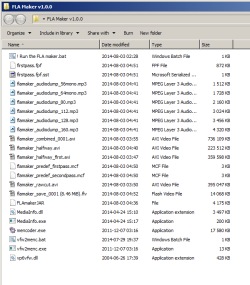
| The FLV Maker is closed, let's see how the folder is doing. A lot of files. You can safely delete all that begins with "flvmaker_", except for any "flvmaker_save" that you want to actually use. Those are the end results.
| 
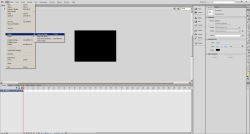
| Fire up Adobe Flash Professional CS6 (or newer, CS6 is what I have installed) - let's put this one inside a swf file! I make a new document and are sure to set the width, height and FPS to that of the movie file (if your movie FPS is for example 23.976 it will be rounded to 23.98 in the fla project but that doesn't give any noticable desync). Black is a good background color when you embed movies.
| 
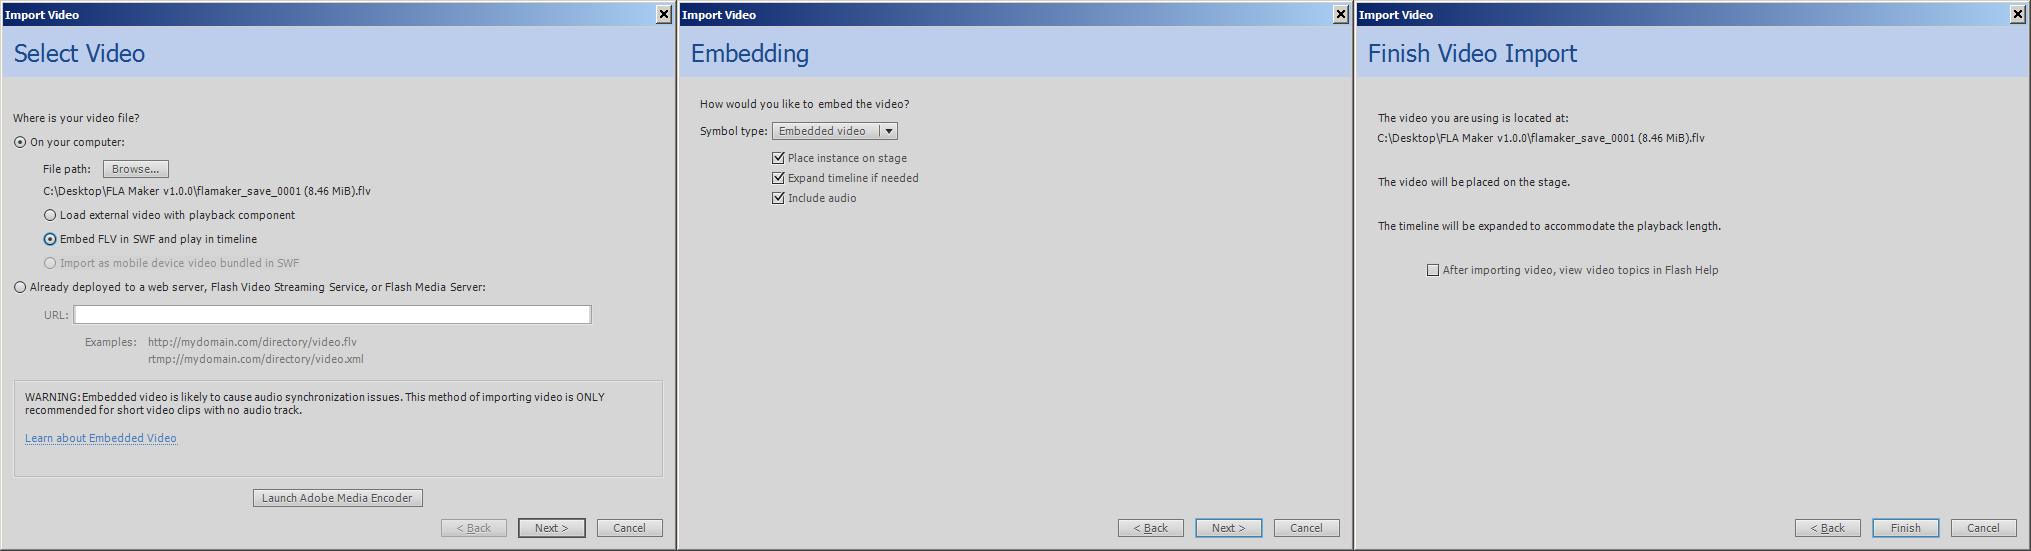
| Import the actual FLV file to be placed on the stage...
| 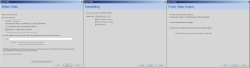
| All you need to click is "Embed FLV in SWF and play in timeline", the rest should be filled in by default. Just press next until you finish.
| 
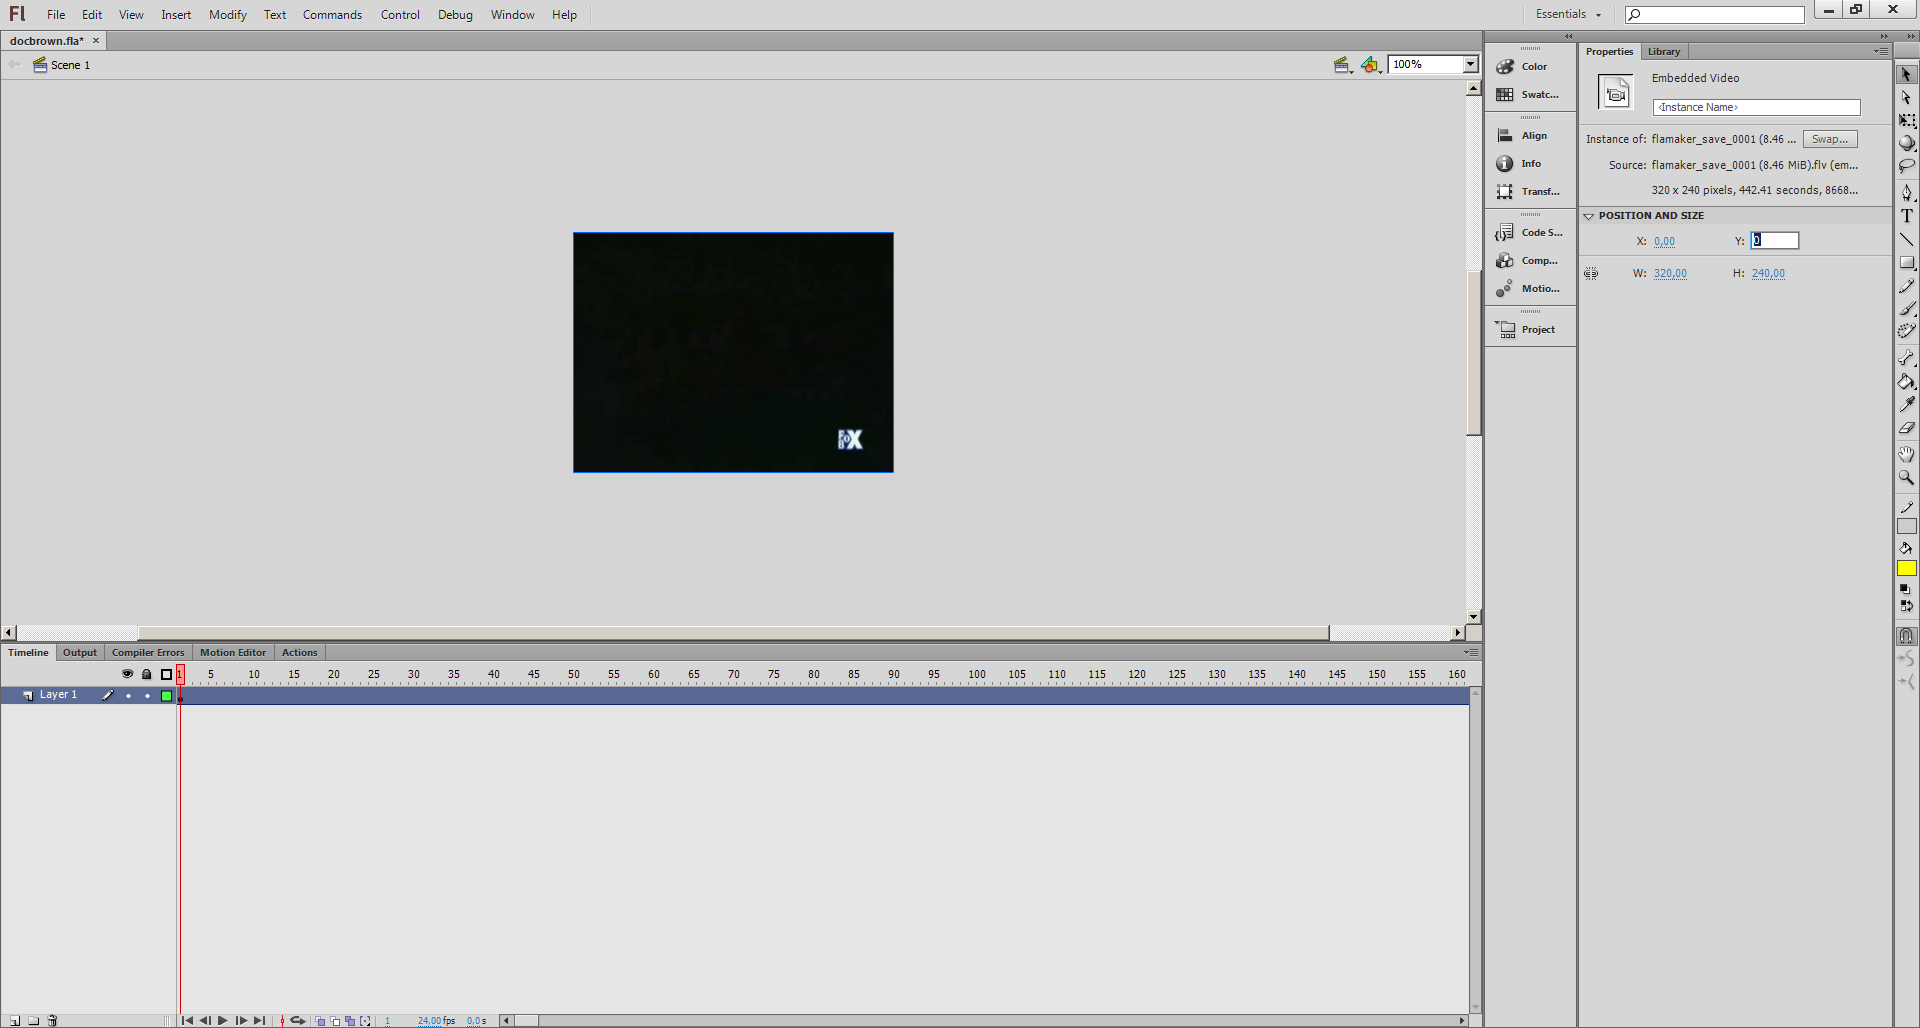
| Make sure the video is placed at X=0 and Y=0 (mine got imported slightly incorrect).
| 
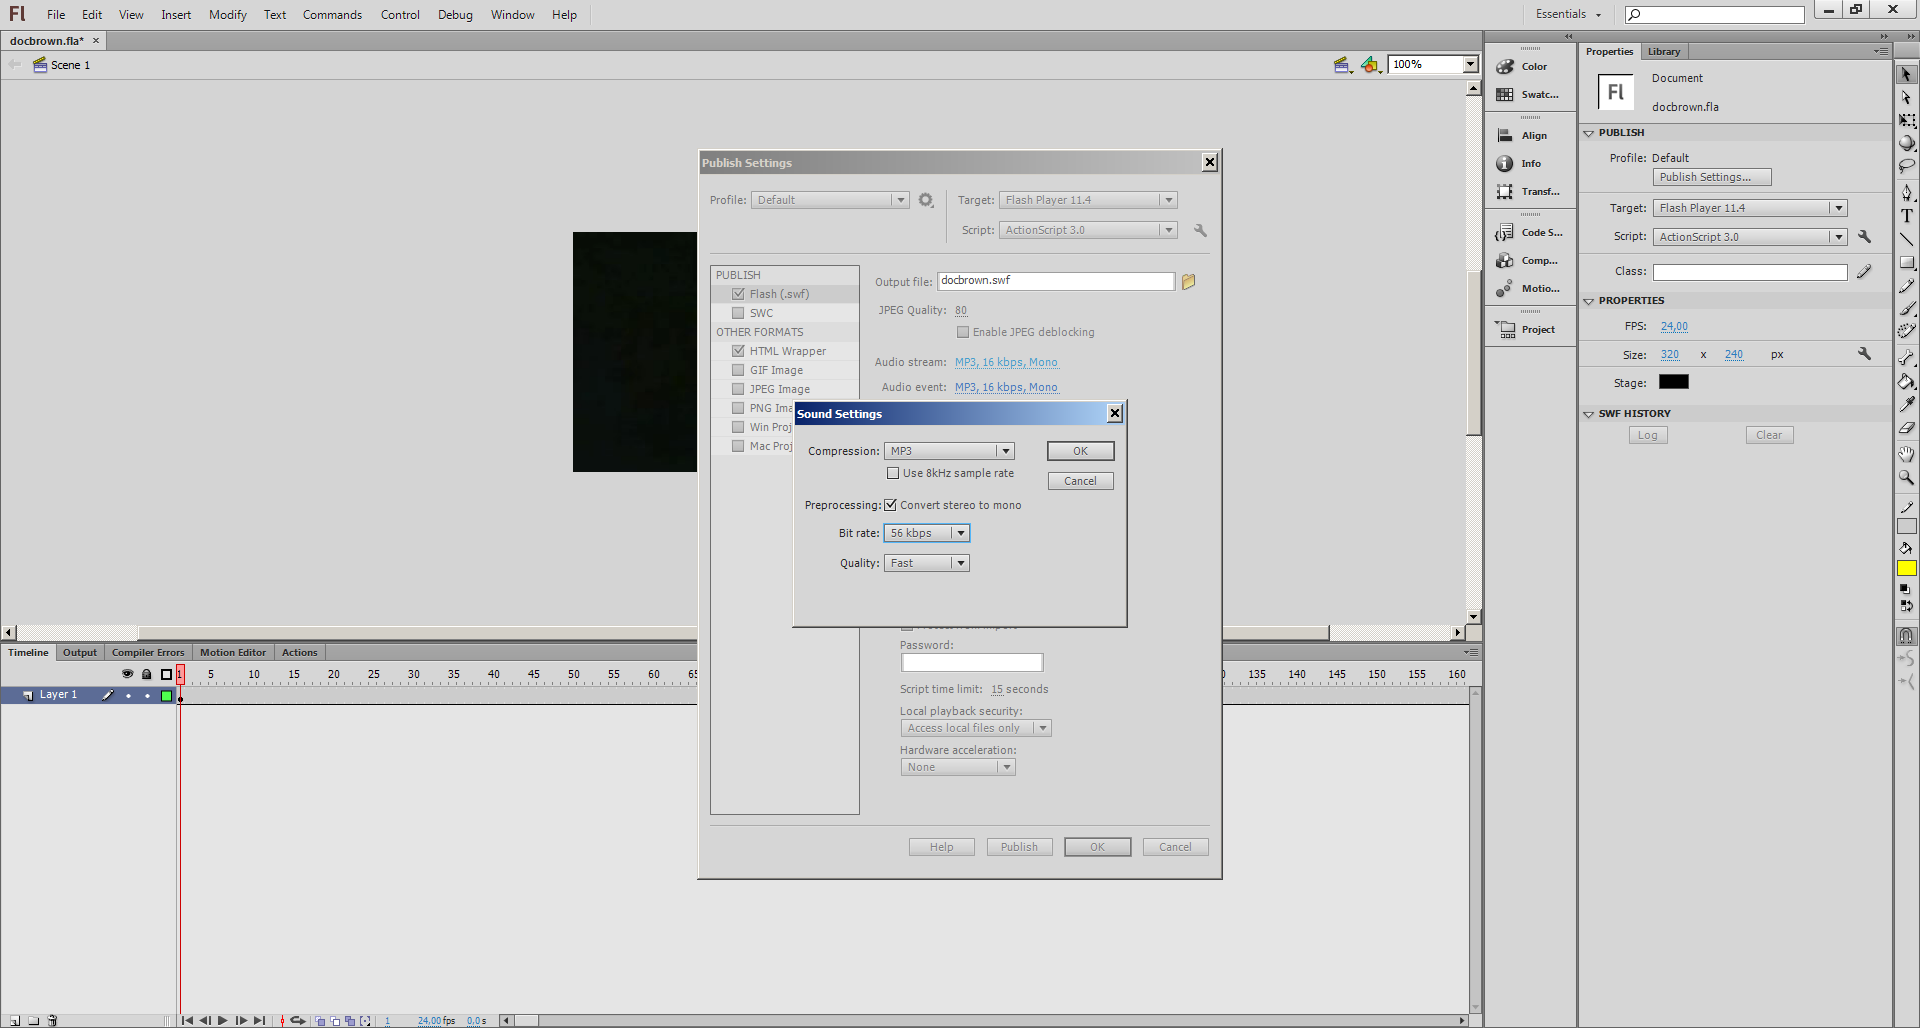
| Click an empty section of the movie's background and enter the Publish Settings. Click the dashed-underlined text next to audio stream. Select export bitrate here. I was interested in 56 kbps and will not uncheck the mono option since at 64 kbps or lower it sounds a lot better when it's mono.
| 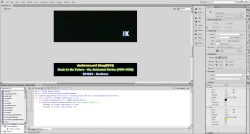
| I add the usual source-below-the-visuals (just some extra effort that I always try to put in). I select the first keyframe on the timeline and paste in some ActionScript 3 that makes the movie look better when resized. The script can be found inside the FLV maker program, click "ActionScript 3 Tip" below the "Make FLV button". It's also further down this page. Press CTRL+ENTER to export the swf file!
| 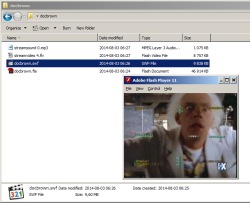
| Here we have it. A 9.6 MiB swf file with the FLV inside! Looking pretty decent.
Using Sothink SWF Decompiler 7.1 I extracted the video and audio stream from the swf file to see their actual size: Video = 8.55 MiB. Audio = 1.04 MiB.The FLV Maker thought the video stream was 8.46 and that the audio would become around 1.48 MiB. But actually the video neededa few KiB more and the audio a lot of KiB less. Knowing this I could have started FLV Maker and made another FLV file with slightly higher bitrate, but I won't bother for this example. But it's good to remember to take all guessed sizes with a pinch of salt and not delete any files until the final swf file has been exported at the desired size. |
The resulting flash file is #155214 here on swfchan. Check it out!
EASY MODE I understand the guide can look long and complex but I wanted to give a detailed example. Most of the time all you do is:
+ Select input file.
+ Scale it down.
+ Make halfway file.
+ Guess a target video size.
+ Press Make FLV.
Done. However, please, if you take the video from YouTube and it has a bunch of "click here to watch this" stuff at the the end - please cut that away. It takes up a lot of space and nobody want to see it since you can't click any of their suggestions.
QUICK TIPS + Always remember to have the same FPS on your swf file as your flv file.
+ 64 kbps audio or lower sounds good if you have it in mono and it saves space.
+ 20 or even 18 FPS will still provide good motion and it saves a lot of space.
+ Lowering the framerate can be especially worthwhile on drawn stuff (anime, cartoons).
+ Lower resolution with good bitrate looks better than high resolution with crappy bitrate.
+ Using "smooth" scaling saves a bit of space most of the time.
+ Crop away black bars/borders. They should never be hard encoded (a waste of space).
+ Use all that space you have saved to increase the bitrate.
+ Consider not using "smooth" scaling for drawn stuff for more defined edges.
+ Set an early start time and just a few sec duration to preview crop/scale and start frame.
+ Encoding might speed up if you scale down the video a lot due to shorter disk writes.
+ Use the buttons right next to the output start/end field to framestep.
+ Change end time before changing start time (start time can't be set past the end time).
+ You can set the VP6 config yourself (both one or two passes are supported).
+ Using two passes increases visual quality in scenes with much movement.
+ Click the small button to the left of the drop down menu to see my predef VP6 config.
+ Threshold reached? You can still nudge the bitrate yourself and make one more FLV.
+ Make a few decent-sized FLVs before trying to embed them so you can do quick tryouts.
+ Find the proper good quality for short FLVs. There is such a thing as too much bitrate.
+ Exporting with 112 kbps audio is a simple way to reach that desired file size.
+ Don't export using 160 kbps audio. People want those bytes on the visuals instead.
+ Check your source video! The bad colors or that glitchy frame might be from there.
+ Try to work with as large and flawless input video file as possible for best results.
+ Avoid cropping and scaling when making a raw cut (unless you're low on disk space).
+ The actual FLV file size can't be trusted. Mencoder creates too large containers.
+ Even if the container is too large it is of course still a valid FLV file.
+ Set "selectpath.ini" (created when FLA Maker is first started) to read-only in Windows Explorer to stop remembering the previously used folder when browsing for a input video.
ACTIONSCRIPT 3 This script it optional but it will improve the appearance of your embedded FLV when resized if you place it on the same keyframe as your video on the main timeline.
VERSION HISTORY 1.0.0 (3aug2014) r1 + Initial release.2.0.0 (8aug2014) r2 + Can now build SWF files with the FLV Maker.+ Start time now allowed to be after the end time but must be fixed before the halfway AVI can be created. + Commas are now replaced with dots in numeric textfields (instead of the value being rejected). + Much more accurate and reliable measurement of the FLV video stream size. + Better system to figure out what bitrate to try next when using predef. + Now remembers the previously used folder for the input video between program runs. + Can now select a whole lot more bitrates for the FLV audio. + 80 kbps FLV audio now using mono instead of stereo (to keep 44100 sampling frequency when embedded in a swf). + Target size is now for video and audio put together, not just for the video stream. + Some minor visual correction. 2.2.0 (9aug2014) r3 + Extract Audio added to the Toolkit.+ Replace Audio added to the Toolkit. + Change Volume added to the Toolkit. + Scale can no longer become less than 1.0 when Auto-set during .swf build. + Aborting creation of halfway AVI file now works as intended. + Better redraw of window upon FLV save. + The scrollbar of the Audio CBR menu is now in a more comfortable starting position. + Some small visual adjustments.
Questions or comments? Please post about the FLV Maker in the service discussion thread. |